Category Archives for "Tip video"
Posts on the PhotoModeler tip videos.
Posts on the PhotoModeler tip videos.
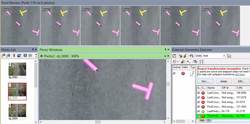
A recent update added the ability to use Point Auto-detect for Control point marking and Multi-point Transform point marking. This tool can help speed up marking and referencing, with the right kind of project and photos. External data is sometimes used to set up a coordinate system or help with the solution. The external data […]
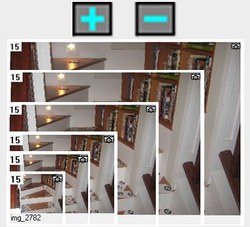
Have you ever wanted to increase the size of your thumbnail (or ‘chip’) images, in the PhotoModeler Photo List? It is possible to change the size via Preferences, but now it’s quicker, easier and more flexible: just use the + or – buttons on the Photo List toolbar! The Photo List in PhotoModeler provides a […]

While many aspects of PhotoModeler are automated, there are still times we need to use the manual point marking and referencing mode. This tip describes a method used in manual point referencing for arranging the photo windows different. It is called ‘Auto-arrange Photos’. When manually referencing points, it helps to open a number of photos […]
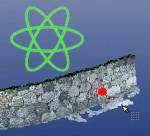
Often you want to navigate PhotoModeler’s 3D Viewer precisely and centered on a point of interest. Zooming or rotating about a specific point can make it much easier to study the 3D data. Fortunately, there are ways to control how the 3D model is centered, zoomed and rotated. By default, the rotation and zoom controls […]
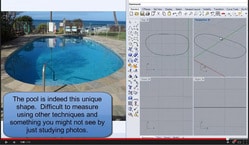
There are a number of ways to model a curve in PhotoModeler. Curves in PhotoModeler are represented as NURBS (Non-Uniform Rational Basis Splines). A complicated name but they are very easy to create. In this tip video we demonstrate a technique that uses just a single photograph to outline the edge of a swimming pool […]
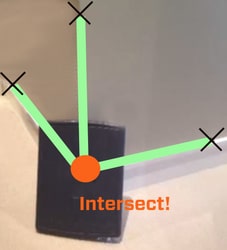
We have a short and sweet tip video this week. In photogrammetry we often mark the corners of objects in photos to define their 3D locations or outline the object. Did you know that you can use temporary intersecting lines to mark corner points that are obscured or hidden? When modeling buildings, other outdoor scenes/objects, […]
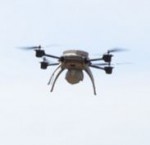
With the proliferation of UAS/UAV (unmanned aircraft systems, unmanned aerial vehicles, or drones) armed with lightweight cameras it has become much easier to capture, scan, measure and 3D model scenes from above. The technique is called photogrammetry. You no longer need to hire an airplane to take aerial photos or purchase expensive aerial photos of […]
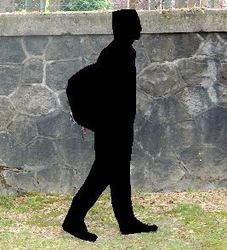
Did you know that photos can be masked to improve orthophoto and 3D texture output? Sometimes project photos have unwanted items or artifacts that can negatively affect the orthophoto or 3D texture output. For example, a moving car or person appears in a scene while photos are being taken, or a tree or bush is […]

Did you know that the Max. Residual status bar is a handy troubleshooting tool when working with manually marked or sub-pixel target marked projects? When a project’s maximum residual error is large (especially anything above 20 pixels on a manually marked project, or above 10 pixels on a target marked project), it usually means there […]
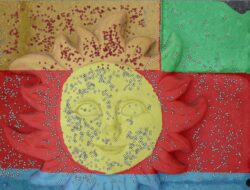
Did you know that you can assign color materials to objects, and customize the colors used to denote the state of an object in PhotoModeler? In this case, ‘state’ means an object is selected, or is being referenced, assigned, etc. Materials First, 3D objects in PhotoModeler like points, lines, edges, cylinders, and surfaces all have […]