
A Multi-point Transform uses three or more known x,y,z positions to define a coordinate transform that defines the projects coordinate system (translate, scale and rotation).
Note, in PhotoModeler a multi-point transform is a Helmert Transform (where no shape change or warp can occur).
A project can contain more than one Multi-point Transform object - if more than one of them is active they must be in the same coordinate system. For example if you had 2 separate surveys covering different or overlapping parts of a scene these could be imported into separate Multi-point Transform objects and both sets of data could be used to define the projects coordinate system. A minimum of three points must be assigned to define the coordinate system; if more are used the resulting transform will be a best fit of these points.

To assign a point select it in the Imports and Coordinate Systems Pane, then select the corresponding point in the project (photo, table, 3d view) and press the Assign button.

Once three or more 3D points are assigned the project’s coordinate system will be defined. You can also assign the known position to a camera station, by selecting the camera station in the 3D Viewer or on a Photo Table using the Select Camera Station right click menu item.
Note that you can use the Auto-assign by ID/Name tool to
automatically assign the imported points to existing points in the model. When
you select an active import, click the Auto-assign button ![]() . A prompt
will display asking whether to assign by User Name or Point ID, which will
depend on the associations between the points in the project and the import.
. A prompt
will display asking whether to assign by User Name or Point ID, which will
depend on the associations between the points in the project and the import.
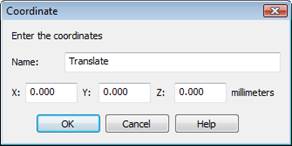
To add or edit one of the point coordinates, click “New…” or “Edit…” respectively. A dialog opens prompting you to enter a name and distance for the scale. See Add/Edit Point Coordinate.