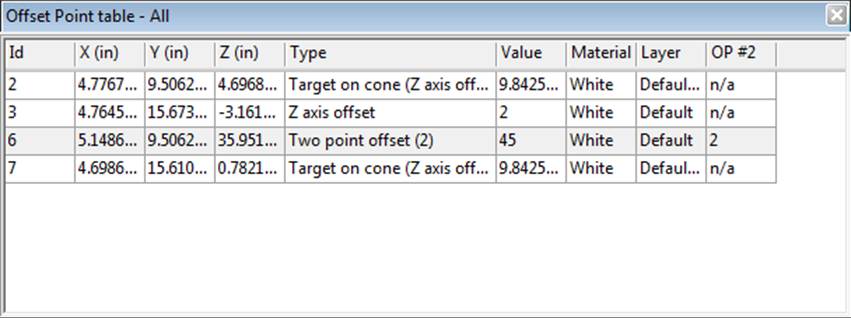

When right clicking in the data area of a table, the table context menu will appear. This is the point table’s context menu (other tables may have slightly different tools):

Various tools are available on this menu that allow you to manipulate the table in useful ways (various select tools, Properties, Open Photos, and the tools on the top of this menu are described elsewhere in this document and are common to other right click menus, and are not described here):
• Show/Hide Columns…: Use this tool to show/hide columns in the table. A menu appears showing all column headings and you toggle the visibility of the column by clicking on the column header title. A header title with a check mark will be visible. This list can also be accessed by right-clicking anywhere on the column header row.
• Save This Table Layout: When you make changes like change the sort column or reordering columns etc., you use this tool to save the layout. You do not need to reopen the Table Layouts to make and save all layout changes.
• Edit Tables…: Use this tool to bring up the Edit Tables Dialog to make changes to the active table’s layout (it will be selected in the dialog when accessed from this menu) or any other saved table layout. Note that changes made to a an active table’s layout on the Table Layouts dialog won’t take effect until it is reopened.
• Print or Output Open View…: Opens the Print and Output Options Dialog.
• Copy row to clipboard: copies the selected row to clipboard. You can then paste this row of data into a document in another application.
• Toggle Group Sorting: This tool toggles sorting of the table between convention top-down sorting and group sort, based on the current sort column (the column header with the sort arrow visible). Group sorting groups all rows of data that have a common value in the sort column. For example, if you have Group Sorting on and you sort by Photos in a Point Table, all points that are marked on the same photo or set of photos will be grouped together. These groups can be contracted or expanded using the small – or + symbol next to the group heading. This is especially useful for the 2D Point Mark Table when sorting by Object Point ID as it groups all 2D point marks by Object Point.
• Freeze Column Left: This tool ‘freezes’ all columns to the left of where the mouse was clicked so that they never scroll out of view. This is useful when you have a very wide table and you want certain columns to always remain visible, even when scrolling horizontally, for example when you want a Point table to always show the Point ID, even when scrolling the table to the right.
• Unfreeze Columns: This removes the frozen property from any frozen columns; all columns will scroll when using the horizontal scroller.
When right clicking in the column header area of a table, a menu showing a list of columns will appear:

This menu appears showing all column headings (a point table’s column list in the example above) where you toggle the visibility of the column by clicking on the column header title. A header title with a check mark will be visible. This list can also be accessed from the “Column Visibility” tool on the right click menu that is brought up by right-clicking in the data area in a table. You can also access the Edit Tables Dialog using the Edit Tables… tool on this popup menu.
Note: Tables can be navigated using the Up Arrow (move up one), Down Arrow (move down one), Home (move to top row), and End (move to bottom row) keys, in addition to the Page Down and Page Up keys that previously were enabled. The selected table item changes as you navigate using the keyboard.