
This Moving camera approach is for use when the target sheets and template pattern are placed at the same time and photographed just once. This is best suited for one-offs, or for simple instructions you might send to a remote client. It is a single step process instead of two steps like the other two methods. In this way it is easier to setup once, but cumbersome to use for multiple template patterns.
See the instructional video for the temporary/single-use template project setup: Creating a 2D Template Project with a Moving Camera and Temporary Setup.
Click Create… to set up the temporary Template Pattern Capture project type.

The temporary template project type doesn’t use a Base Project (the base project and template project are combined into one single project), but the setup procedure is like the other approaches.
Click ‘Print target sheets...’ to send a series of targets to your printer. The printed targets need be taped down onto the work surface in a specific order, as shown below, where target 1 is at top left, target 8 is top right, target 25 is bottom left, and target 32 is bottom right (ID of targets shown on the target printouts):

Note that the sheets can be landscape or portrait orientation as long as the sheet order is correct.
Make sure none of the targets move when taking photos. They should be properly affixed to the work surface. Next place the template pattern inside the ring of target sheets, and also place a few other targets around the template pattern, as shown here:

Next, take 12 photos from camera positions similar to a calibration (see Taking the Calibration Photos). Then also take a single photo as close to top-down/straight-on as practical.
Using a tape measure, carefully measure and note the distances between the centers of these target pairs:
• #1 and #8
• #3 and #30
• #8 and #25
• #5 and #29
• #17 and #32
You’ll need these distances to set the scale of the Base Project, an important step!
You’re ready to proceed – click ‘Run base project set up…’ or ‘Send Photos and Measurements to PhotoModeler…’:

Whether you’re sending the photos and data to PhotoModeler for processing or running the project yourself, the next steps are similar.
Click Add Photos… to add the 13 photos (12 from around the target sheets, and one top-down), set the units and enter the measurements between the specified targets (those will not match the scale measurements shown in the screen capture).
You can click to select top down templating photo here or you will be prompted to select one when in the next digitizing step.
Click Process to run the Base Project, or if you’re sending the project data to PhotoModeler, a field is available where you enter your email address and upload the files.
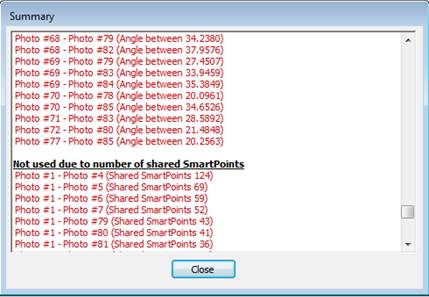
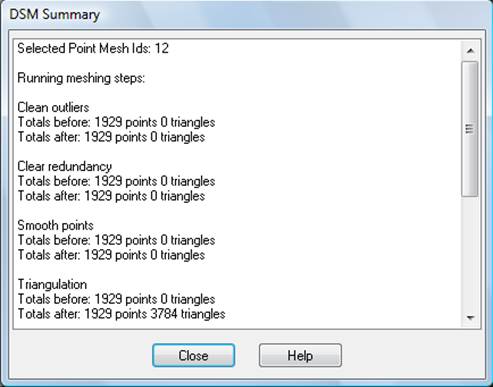
A summary of the targets marked and the processing results will be shown:

Once this is done you’re ready to Digitize New Template Pattern.