

Accessed from ribbon toolbar’s Create Tab (External Geometry group) the scale and rotate wizard provides a step-by-step method for adding a scale and rotation to a project. The results of the wizard are displayed in the Imports and Coordinate Systems Pane.
Some steps of the wizard require objects to be selected. These can be selected on photos, 3D views or tables. If two objects should be selected, hold down shift while selecting the second one.
The following dialogs show the sequence of the wizard steps:
First select the units of the scale measurement:
Next enter the scale distance:
Next Select the two endpoints, while this dialog is up, and click Next:
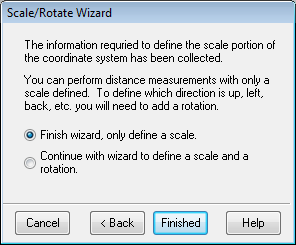
Click Finished if you’re just entering a scale, otherwise select Continue with wizard to define a scale and a rotate:
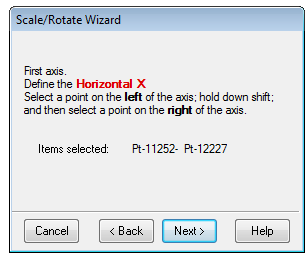
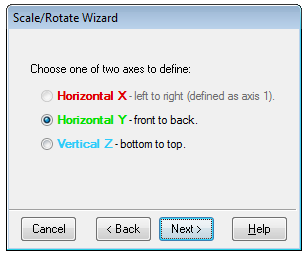
Next select the two axes you wish to define:
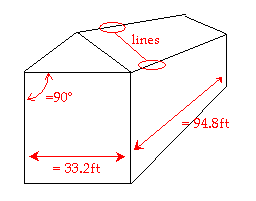
Select the two points defining the axis while this dialog is up, and then click Next:
Next select the other axis:

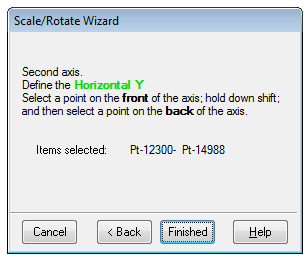
And finally, select the two points that define this last axis, while this dialog is up, and then click Finished:
Note that you must use points (or a line) to define a rotation axis when using the Scale and Rotate Wizard. You can use edges and cylinders to define an axis when manually setting up your coordinate transformation - see Setting Rotation.